Ultimate Guide to Best LED Strip Specifications and Installation Tips
In recent years, the popularity of LED strips has surged, transforming ordinary spaces into vibrant and energy-efficient environments.
According to a report by MarketsandMarkets, the global LED lighting market is projected to reach
$105.5 billion by 2024, showcasing the growing adoption of LED technology across various applications,
including residential, commercial, and automotive sectors.
LED strips, known for their flexibility and versatility, allow for innovative lighting designs that foster ambient experiences
while also contributing to energy savings of up to 80% compared to traditional lighting solutions.
As consumers become increasingly aware of sustainability and aesthetic appeal, understanding the best specifications and installation tips for LED strips is paramount to
achieving optimal performance and longevity.
This ultimate guide aims to equip you with essential insights and actionable strategies for harnessing the full potential of LED strips, ensuring your lighting projects
are both efficient and visually stunning.
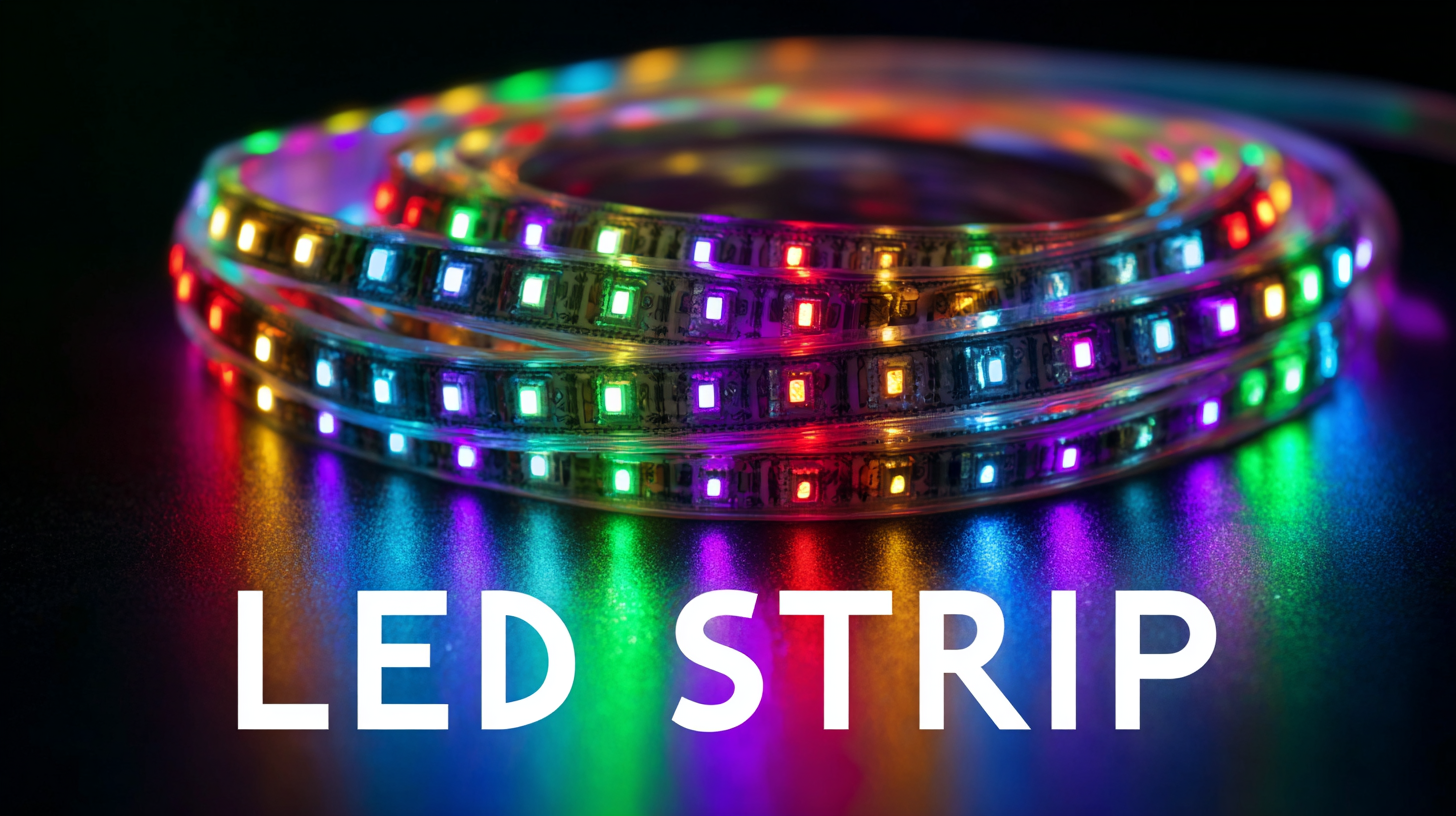
Understanding LED Strip Types: Flexible, Rigid, and Waterproof Options
When it comes to LED strips, understanding the different types available is crucial for selecting the right one for your project. Flexible LED strips are the most popular option, thanks to their versatility and ease of installation. They can be bent and shaped to fit curved areas, making them ideal for accent lighting or DIY projects. Typically, these strips come with an adhesive backing, allowing for straightforward application on various surfaces. They're perfect for use in spaces like under cabinets, around furniture edges, or even in vehicles, providing an ambiance that complements the surrounding decor.
On the other hand, rigid LED strips offer a sturdier solution, often enclosed in aluminum channels or extrusions. These are well-suited for applications where durability and a clean, finished look are essential, such as in commercial installations or integrated into furniture. Rigid strips tend to provide more uniform light distribution and are easier to align for a polished appearance. However, they lack the flexibility of their counterparts and are best used in straight installations.
For environments exposed to moisture, waterproof LED strips are a must. Encased in a protective coating, these strips ensure longevity and functionality even in wet locations such as bathrooms, kitchens, or outdoor spaces. When selecting a waterproof option, it is important to consider the IP rating, which indicates the level of protection against water and dust. By understanding the distinctions between flexible, rigid, and waterproof LED strips, you can make an informed choice that aligns with your specific needs and installation conditions.
LED Strip Types and Their Brightness Levels
This chart illustrates the brightness levels of different types of LED strips: Flexible, Rigid, and Waterproof. As shown, Rigid LED strips offer the highest brightness, followed by Waterproof and Flexible options.
Essential LED Strip Specifications: Brightness, Color Temperature, and Wattage
When selecting the perfect LED strip for your project, three key specifications stand out: brightness, color temperature, and wattage. Brightness is primarily measured in lumens, with high-quality LED strips typically delivering between 300 to 1,000 lumens per meter. A report by the Department of Energy indicates that for residential lighting, a strip producing at least 500 lumens per meter is ideal for functional areas such as kitchens and workspaces, ensuring sufficient visibility without straining the eyes.
Color temperature, defined in Kelvin (K), affects the ambiance of a space. LED strips typically range from warm white (2700K) to daylight (6500K). A study published in the Journal of Vision identified that warmer colors create a cozy environment, suitable for living areas, while cooler temperatures enhance focus, making them ideal for work settings. Choosing the right color temperature can significantly impact the way a space feels and functions.
Wattage is another critical factor, as it indicates energy consumption. High-efficiency LED strips consume about 4 to 24 watts per meter, depending on brightness and features. According to the International Energy Agency, opting for LED products can reduce energy consumption by up to 75% compared to traditional incandescent lighting, making them not only a brighter choice but also an environmentally friendly one. Understanding these specifications can lead to informed decisions that enhance both aesthetics and functionality in any lighting project.

Tools and Materials Required for DIY LED Strip Installation
When embarking on a DIY LED strip installation project, having the right tools and materials is crucial to achieving a professional finish. According to a report from the National Electrical Manufacturers Association (NEMA), using quality materials can improve installation efficiency by up to 30%. Essential tools include a wire stripper, soldering iron, and a multimeter to ensure safe and precise connections. Additionally, adhesive mounting clips and a clean workspace will prevent any potential mishaps during installation.
In terms of materials, selecting high-quality LED strips with the right specifications is paramount. A detailed analysis from the Illuminating Engineering Society (IES) highlights that LED strips should have a minimum of 90 lumens per watt for optimal brightness. Moreover, consider the IP rating of the strips; for outdoor settings, an IP65 rating is recommended for durability against environmental factors. By equipping yourself with these tools and materials, you can enhance the overall outcome and longevity of your LED strip installation project, making it a rewarding endeavor.
Step-by-Step Installation Guide: From Planning to Powering Up
When embarking on a DIY project, LED strip lighting can be an excellent choice to enhance your space. However, proper planning is essential to ensure a smooth installation process. Start by measuring your area and determining where you want to place the LED strips. Consider the available power outlets and the length of the strips you’ll need. Drawing a simple layout can help visualize the final look and make it easier to purchase the right materials.
Once you have your supplies, the installation process begins with cleaning the surface where the strips will adhere. This step is crucial for ensuring a strong bond. Next, peel the adhesive backing off the LED strips and place them along your predetermined path. If your installation requires cutting the strips to fit, ensure you cut only at the marked points to avoid damaging the circuitry. Finally, once the strips are installed, connect them to the power supply and test them out. With a little patience and attention to detail, you can power up your newly installed LED lighting, adding a modern ambiance to any room.
Ultimate Guide to Best LED Strip Specifications and Installation Tips
| Specification |
Description |
Installation Tip |
| LED Type |
SMD 3528, SMD 5050, SMD 2835 |
Choose based on brightness needs. |
| Voltage |
12V or 24V |
Select power supply accordingly. |
| Lumen Output |
50-100 lumens per foot |
Calculate total for desired brightness. |
| Color Temperature |
Warm White, Cool White, RGB |
Match to room ambience. |
| Length |
Available in various lengths |
Measure for accurate fit. |
| Waterproof Rating |
IP65, IP68 options |
Choose for outdoor use. |
| Power Consumption |
Approx. 4.8W per meter (5050) |
Account for power source capacity. |
Common Mistakes to Avoid When Installing LED Strips
When installing LED strips, avoiding common mistakes can save time and money while ensuring optimal performance. One frequent error is underestimating the power requirements. According to the Department of Energy, using an insufficient power supply can lead to dim lighting or even strip failure. It's crucial to calculate the total wattage needed by multiplying the wattage per foot of the LED strip by the total length being installed. Always round up to the nearest available power supply rating to prevent potential issues.
Another mistake is improper heat dissipation. LED strips generate heat, and insufficient ventilation can shorten their lifespan. A report from the National Institute of Standards and Technology emphasizes the importance of maintaining an ambient temperature below 85°F for longevity. To rectify this, make sure to mount the strips on a heat-resistant surface and consider adding heat sinks if they are in enclosed spaces.
Lastly, many users ignore the adhesive quality of the LED strips. A recent survey from Lighting Research Center revealed that poor adhesion is a leading cause of strip malfunction. Ensure the mounting surface is clean, dry, and free of grease before applying the LED strips. If necessary, reinforce with clips or brackets for added security.
