How to Control LED Strip Lights with Smart Systems 7 Tips?

Time:2026-09-29 Author:Isabella
0%

Smart LED strips can do more than change color. They can soften a late-night hallway, brighten a kitchen counter, or switch on with a voice command. But reliable results depend on more than choosing a strip and opening an app. This guide explores how to control led strip lights with smart systems, from checking voltage and controller compatibility to setting schedules, scenes, and voice controls. Small details matter. A mismatched controller may limit colors, while a poorly placed sensor can trigger lights at the wrong time.

Lighting researcher Dr. Mariana Figueiro’s work offers a useful reminder: light’s timing and intensity can influence how people experience a space. That principle helps explain why thoughtful schedules and dimming often matter more than flashy effects. The seven tips will cover selecting compatible hardware, connecting strips safely, choosing a control platform, organizing zones, creating practical scenes, automating schedules, and troubleshooting common connection problems. A simple test helps: stand where you normally use the room and check whether the strip creates glare or leaves dark patches. Smart controls cannot fix poor placement. And not every automation feels useful; some need adjusting after a few evenings. The goal is dependable lighting that fits real routines, not a complicated setup that looks good only in a demonstration.
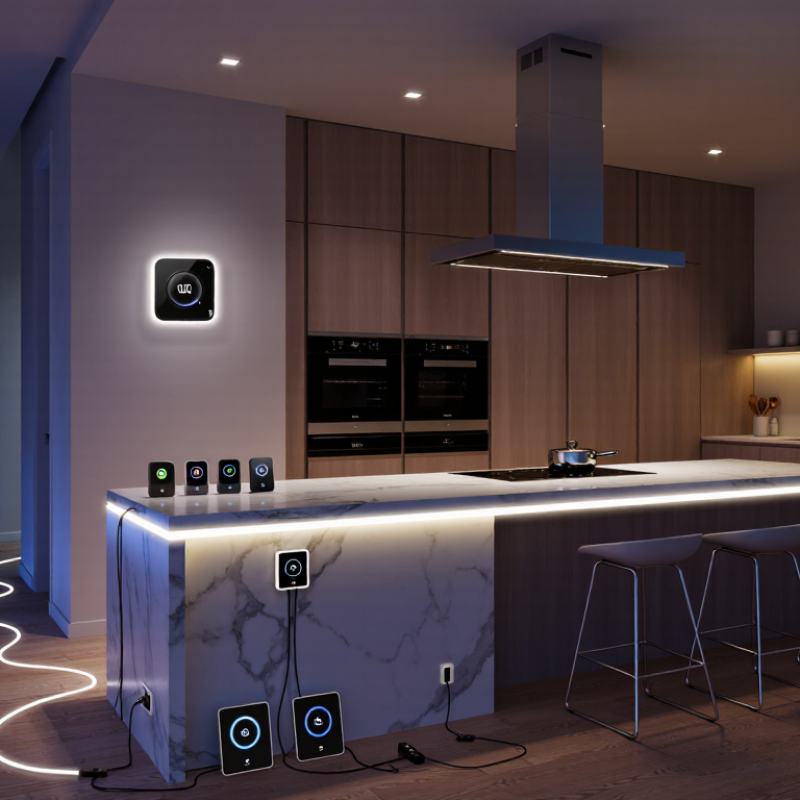
How to Control LED Strip Lights with Smart Systems 7 Tips?

Choose LED Strip Lights Compatible with Your Smart System

Choosing LED strip lights that match your smart system is more important than choosing the brightest model. The U.S. Department of Energy reports that LEDs use at least 75% less energy and last up to 25 times longer than incandescent lighting. However, efficiency does not guarantee compatibility. Check the strip’s voltage, controller type, dimming method, and connection protocol before buying.

Match the strip with the system’s communication standard. Some controllers use Wi-Fi, Bluetooth, Zigbee, or other low-power protocols. A smart hub may support only selected standards. Check carefully. Also confirm whether the strip is single-color, tunable white, RGB, or individually addressable. These formats need different controllers and power supplies. The International Energy Agency states that lighting represents about 15% of global electricity consumption, so poor compatibility can create wasted energy through unstable operation or unnecessary replacements.

Measure the total length and calculate power demand. A five-meter strip may need more current than a small controller can safely provide. Add a suitable power supply, leave a safety margin, and inspect connector polarity. In real installations, a strip may work perfectly on a test bench but flicker after several meters are connected. That mistake is easy to make. Product descriptions can also be incomplete, so verify technical documents and independent test data before installation.

Select the Right Smart Controller and Power Supply

Choose the controller to match the strip, not just the app you prefer. Check its voltage and confirm it supports the strip type, such as single-color, RGB, RGBW, or addressable LEDs. A controller made for RGB may not operate an RGBW strip correctly. For smart features, verify that your home network or hub supports its connection method, such as Wi-Fi, Bluetooth, or Zigbee.

Size the power supply for the full strip length. Multiply the strip’s watts per meter by the number of meters, then choose a supply with roughly 20 percent extra capacity. For example, a 5-meter strip rated at 14 watts per meter needs 70 watts; a supply rated around 85 watts provides useful headroom. Match the supply’s output voltage exactly. Keep it ventilated, and avoid hiding it under rugs or in cramped cabinets.

Test everything before mounting the lights. Connect a short section first and check dimming, colors, and warmth near the power connections. On a long run, brightness can fade toward the far end; extra power injection may help, if the strip’s instructions allow it. I have found that controller labels can be confusing, so double-check the wiring diagram rather than trusting wire colors alone. One small detail matters: secure connections reduce flicker, but they do not fix an undersized supply.

Install the Strips and Connect Them to Your Network

Measure the route before peeling the adhesive backing. Check that the strip, power supply, and controller have compatible voltage and connector types. Clean the mounting surface, then let it dry fully. Dust and moisture can weaken the bond. Cut only at marked points, and avoid sharp bends around corners. Test the strip before fixing it in place. A loose connector is much easier to correct on a table than above a cabinet.

Connect the controller to the strip and power supply as its instructions describe. Keep the power disconnected while making connections. Once powered, check for dark sections, flicker, or a warm connector. Small details matter. Place the controller within reliable Wi-Fi range, then use the setup process provided for your system. Many devices use a 2.4 GHz network, but check the device instructions rather than guessing. Enter the network password carefully, and grant only the permissions needed for setup and control.

If pairing fails, move the controller closer to the router and confirm your phone is on the intended network. Restarting setup can help, though it is mildly annoying. Secure the strip’s wiring so it cannot be tugged loose, and keep the power supply uncovered for ventilation. Test brightness and color before finishing the installation; a bright white setting may reveal uneven sections you did not notice earlier.

How to Control LED Strip Lights with Smart Systems: 7 Tips

Install the Strips and Connect Them to Your Network: Check Wi-Fi signal strength where the LED controller will be installed. These approximate RSSI ranges are a practical guide; walls, interference, and router placement can affect actual performance. A reading around -60 dBm or stronger is generally preferable for reliable control.

Pair the Lights with an App or Voice Assistant

Pairing LED strip lights with an app turns a phone into a compact control panel. Set a warm white scene for dinner, then lower the brightness from the sofa. Before setup, check that the strip and controller support the same wireless connection and voice-assistant platform. Some controllers require a 2.4 GHz Wi-Fi network, so read the setup guide rather than guessing. Small detail, big difference.

Parks Associates reported in 2022 that about 40% of U.S. internet households owned a smart speaker. That suggests voice control is familiar to many households, but it still depends on a stable connection and clear device names. Name a strip by location, such as “kitchen lights,” and test simple commands like “dim the kitchen lights to 30 percent.” Avoid vague names. They can trigger the wrong device, which is annoying at night.

Tips: Pair the strip in its app first, then link the app to your voice assistant. Create one useful scene, such as “Movie,” and test it from across the room. Keep the controller accessible; a router restart may require checking the connection again. I would not rely on voice control alone. A physical switch or app is still useful when speech recognition misses a command.

Set Scenes, Schedules, and Automation Rules

How to Control LED Strip Lights with Smart Systems: 7 Tips

Set Scenes, Schedules, and Automation Rules

Start with scenes for repeated moments. A “quiet evening” scene might use warm white light at 35 percent brightness. A focused workspace scene can use brighter, cooler light near the desk. Name each scene clearly. Avoid vague labels like “Mode 2.” Clear names help everyone control the room confidently.

Schedules should follow real household habits, not guesses. Set the hallway lights to brighten at 6:30 a.m. and fade after sunrise. In the evening, lower the brightness around 9:30 p.m. Keep time zones and daylight changes in mind. My first schedule was too rigid, and it turned on empty rooms. I now review schedules every few weeks.

Automation rules can connect motion, door, and ambient-light sensors. For example, motion can trigger a soft glow only when the room is already dark. Add a short delay before switching lights off. Ten minutes often feels more natural than thirty seconds. Keep brightness limits in bedrooms and stairways to reduce glare. Test one rule at a time.

Use manual controls as a fallback. Smart systems sometimes lose network access. The lights should still respond locally when possible. Check the strip’s voltage, power rating, and controller compatibility before installation. Secure cables away from heat and moisture. Small errors matter. A scene that looks perfect at night may feel harsh during the day, so adjust it under different conditions.

FAQS

How can I check whether an LED strip works with my smart system?

Match the strip’s voltage, controller type, dimming method, and connection protocol. Check whether your hub supports Wi-Fi, Bluetooth, Zigbee, or another standard. Do not rely only on the mobile app.

Which LED strip format should I choose?

Identify whether you need single-color, tunable white, RGB, RGBW, or addressable lighting. Each format requires a compatible controller and power supply. An RGB controller may not operate an RGBW strip correctly.

How do I calculate the required power supply?

Multiply watts per meter by the total strip length. A five-meter strip rated at 14 watts per meter needs 70 watts. Choose a supply near 85 watts for useful headroom. Match the output voltage exactly.

Why can LED strips flicker after installation?

The controller or power supply may be too small. Loose connectors can also cause flicker. Check connector polarity and wiring diagrams carefully. Secure connections help, but they cannot fix insufficient power.

Should I test the lights before mounting them?

Yes. Connect a short section before installing the full length. Check dimming, colors, brightness, and warmth near the power connection. Long runs may become dimmer at the far end. Extra power injection might help when permitted by the instructions.

How can I create useful lighting scenes?

Use clear names based on real activities. A quiet evening scene could use warm white light at 35 percent brightness. A workspace may need brighter, cooler light near the desk. “Mode 2” is less helpful than “Desk Focus.”

How should I set schedules and automation rules?

Base schedules on household habits, not assumptions. Hallway lights might brighten at 6:30 a.m. and fade after sunrise. Lower evening brightness around 9:30 p.m. Review schedules every few weeks. My first schedule was too rigid.

What should happen if the network stops working?

Keep manual controls available as a fallback. The lights should respond locally when possible. Motion sensors can trigger soft light in dark rooms. Add a short switch-off delay, such as ten minutes. Test one automation rule at a time.

How can I make smart strip lighting safer and more comfortable?

Keep the power supply ventilated, never under rugs or inside cramped cabinets. Secure cables away from heat and moisture. Limit brightness in bedrooms and stairways to reduce glare. A scene that feels pleasant at night may seem harsh during daylight.

Conclusion

Learning how to control led strip lights with smart systems starts with choosing strips that match your preferred wireless protocol, voltage, color features, and control platform. A suitable smart controller and correctly rated power supply are equally important for stable performance and safe operation. After mounting the strips, connect each section carefully, confirm the polarity, and link the controller to your home network according to its setup instructions.

Once connected, pair the lights with a compatible mobile app or voice assistant to adjust brightness, colors, and power remotely. You can then create scenes for activities such as relaxing, working, or entertaining, while schedules can turn the lights on or off automatically at specific times. Automation rules may also respond to daily routines or other connected devices, making lighting more convenient and energy-conscious. Testing each setting before finalizing the installation helps ensure reliable control and a smooth smart-home experience.

Isabella

Isabella

Isabella is a dedicated marketing professional with a sharp focus on driving brand growth and engagement through strategic content creation. With an extensive background in digital marketing, she combines her passion for storytelling with her keen understanding of industry trends to deliver......