How to Cut and Connect LED Strip Lights for Your Projects?

Time:2026-08-10 Author:Ethan
0%

LED strip lights are versatile and popular in various projects. They add vibrant illumination to any space. The best part? You can cut and connect them according to your needs. Learning how to cut and connect LED strip lights opens up new possibilities for creativity.

When embarking on this task, it’s essential to understand the right techniques. You’ll need a sharp pair of scissors and connectors. Precision matters here. Cutting in the wrong place may damage the strip. Use the designated cut lines for best results.

Connecting the pieces requires careful handling. Poor connections can lead to flickering or uneven lighting. Make sure to secure each joint properly. It can be frustrating if they don't stay connected. Take your time. Reviewing your work can save you from future issues. With patience and attention to detail, you’ll master how to cut and connect LED strip lights successfully.
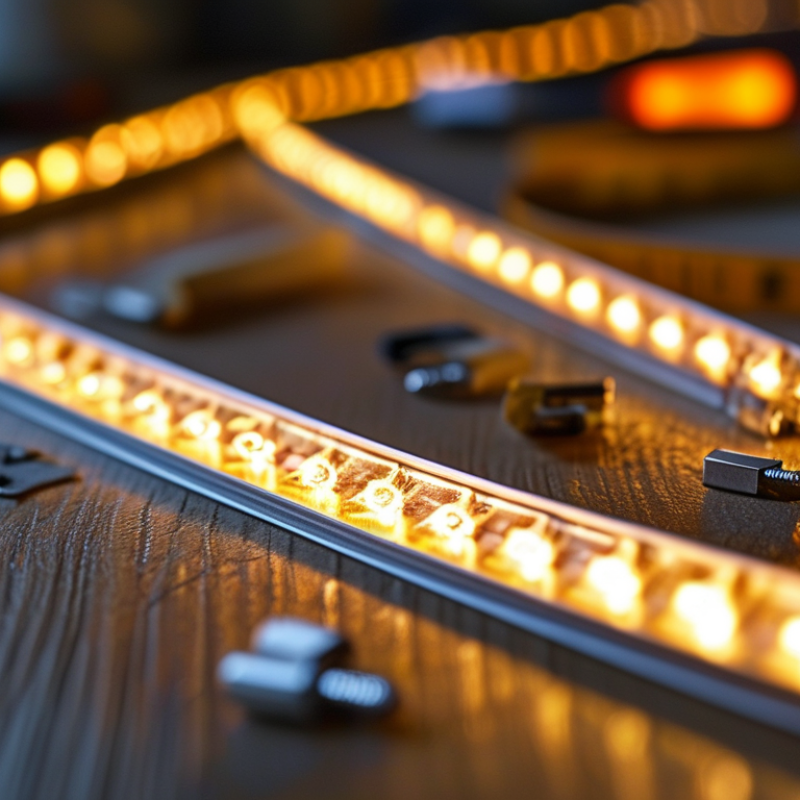
How to Cut and Connect LED Strip Lights for Your Projects?

How to Choose the Right LED Strip Lights for Your Project

Choosing the right LED strip lights for your project is crucial. LED strip lights come in various colors, brightness levels, and types. Data shows that 70% of consumers are confused by the choices available in the market. Understanding these options can help you make informed decisions.

To start, consider the brightness. Measured in lumens, different projects may need different levels. For example, accent lighting might require fewer lumens than task lighting. You can find strips that provide anywhere from 300 to 1200 lumens per meter. This variation is essential for achieving the desired effect.

Color temperature also plays a significant role. Ranging from warm (2700K) to cool (6500K), the right temperature can affect the mood of a space. Research indicates that warmer lights are preferred for residential areas, while cooler lights are often suited for workspace environments.

Tips: Always check the CRI (Color Rendering Index) when choosing strips. A CRI of 80 or above is good for true color representation. Experiment with different brightness levels to see what suits your needs best. Remember, not all projects will need the same specifications. Mistakes can happen, leading to unexpected results. Reflection on those choices is vital for future projects.

Understanding the Cutting Points and Specifications of LED Strips

Cutting LED strip lights requires an understanding of their design and specifications. LED strips usually have designated cutting points, often marked by scissor icons. These points are critical because cutting outside of them may damage the circuitry. Most strips can be cut every 2 inches, but this varies by model. Familiarizing yourself with the specifications ensures you make accurate cuts.

When working with LED strips, remember that they typically come in 16.4-foot reels. A report from the Department of Energy indicated that LED lighting uses at least 75% less energy than incandescent lighting. This efficiency is essential for DIY projects. Ensuring your cuts align with the circuit layout allows the lights to function well post-installation.

Tips: Use a sharp blade for clean cuts. This reduces the chance of exposing wires. Always double-check your measurements before cutting. The right tools make the process smoother. After cutting, connect the strips with appropriate connectors to maintain strong electrical integrity. Poor connections can lead to flickering or unresponsive sections.

Essential Tools for Cutting and Connecting LED Strip Lights

Cutting and connecting LED strip lights requires specific tools to get the job done effectively. First, a sharp pair of scissors or a utility knife is essential for making precise cuts. It's important to cut only along the marked lines on the strip. This ensures that the circuitry remains intact. A measuring tape will help you figure out the required length. This prevents unnecessary waste and helps to optimize your project.

To connect the strips, complementary tools are needed. Soldering equipment is a great option for secure connections. A soldering iron, solder wire, and flux will help create a strong bond between the strips. If soldering isn’t your preference, opt for connector clips. They are user-friendly and avoid the need for advanced skills. However, keep in mind that clips can sometimes lead to loose connections, which may require adjustments later.

Wire cutters and strippers are also handy. They allow for the clean removal of insulation from the connection wires. If you encounter challenges while making connections, take time to troubleshoot. Improper connections may lead to LED failure. Don't hesitate to try different fitting methods until you find what works best. Having patience is key to achieving good results with your projects.

A Step-by-Step Guide for Soldering LED Strips Safely

Soldering LED strips can seem daunting. However, with the right guidance, it becomes manageable. Start by gathering your materials: soldering iron, solder, and flux. Ensure your workspace is well-lit and organized. Safety should always come first. Wear safety glasses to protect your eyes from solder splashes.

When cutting LED strips, identify the marked cut lines. Use scissors for a clean cut. After cutting, prepare the cut ends. Strip back the insulation carefully, exposing a small length of the wires. The right preparation is key for a secure connection.

**Tips for soldering effectively:**
Keep your soldering iron at the right temperature. Too hot can damage components. Clean the iron's tip regularly for optimal conductivity. Work quickly, but not rushed. A steady hand makes a world of difference. Avoid excessive solder; it can lead to shorts.

Mistakes can happen. If a connection fails, don’t be discouraged. Remove the excess solder and try again. Remember, practice is vital. Every attempt helps you improve your technique. It’s about fine-tuning your skills, not achieving perfection on your first try.

How to Cut and Connect LED Strip Lights for Your Projects? - A Step-by-Step Guide for Soldering LED Strips Safely

Step Action Materials Needed Safety Tips
1 Measure and mark. Ruler, Marker Wear safety goggles.
2 Cut the LED strip. Scissors or cutting tool Ensure power is off before cutting.
3 Strip the wires. Wire stripper Handle tools carefully.
4 Solder connections. Soldering iron, Solder Work in a well-ventilated area.
5 Test the connections. Power source Avoid direct contact with exposed wires.
6 Secure and cover connections. Electrical tape or heat shrink tubing Make sure connections are insulated.

Common Mistakes to Avoid When Working with LED Strip Lights

When working with LED strip lights, many encounter common pitfalls. One major mistake is cutting the strips at the wrong points. These lights are designed to be cut along designated lines. Cutting elsewhere can lead to uneven lighting or complete failure of the strip. Always double-check the guidelines indicating where to cut. This small detail can save you from frustration.


Another frequent error is neglecting proper connections. It’s essential to ensure that connections are secure and correctly oriented. Misaligned connections can cause short circuits or flickering lights. Use connectors that match the strip type. Many people overlook the importance of soldering skills. Poorly soldered joints can result in poor conductivity. This oversight might require starting over.


Finally, inadequate power supply is often underestimated. Using the wrong voltage can lead to dim lights or burnt strips. Understanding your strip's requirements and matching them with the correct power supply is crucial. People sometimes rush into projects without proper research. Taking time to plan can make a significant difference in outcomes.

FAQS

: What should I look for when cutting LED strips?

: Look for designated cutting points on the strips. Cutting outside these points may damage the circuitry.

How often can I cut LED strips?

Most strips can be cut every 2 inches. Check your specific model for its cutting specifications.

What tools do I need for cutting LED strips?

Use sharp scissors or a utility knife. A measuring tape helps ensure you cut the right length.

How can I ensure good connections after cutting?

Use appropriate connectors or soldering equipment. Double-check connections to avoid flickering lights.

Is soldering required for LED strip connections?

Soldering provides strong connections but isn't mandatory. Connector clips can be used instead, though they may be prone to looseness.

What should I do if my connection fails?

If a connection fails, remove excess solder and try again. Each attempt helps improve your soldering skills.

How should I prepare the cut ends of LED strips?

Strip back insulation carefully, exposing a small length of wires. Proper preparation ensures secure connections.

How important is temperature when soldering?

Temperature is critical; too hot can damage components. Keep your iron at the correct setting for the best results.

What if I make mistakes while soldering?

Mistakes are common. If you fail, don’t be discouraged. Practice makes improvements over time.

Why is it essential to measure before cutting?

Measuring prevents unnecessary waste and helps you achieve the desired length for your project.

Conclusion

This article provides a comprehensive guide on how to cut and connect LED strip lights for various DIY projects. It begins by helping readers choose the right LED strip lights based on their specific needs, considering factors like brightness and length. Understanding the cutting points and specifications of LED strips is crucial, as it ensures proper functionality after modifications.

Equipped with essential tools for cutting and connecting LED strip lights, the article then offers a step-by-step guide for safely soldering the strips. This process requires precision to maintain electrical integrity. Lastly, it highlights common mistakes to avoid, such as incorrect cutting and poor connections, which can lead to ineffective lighting setups. Whether you are a beginner or an experienced DIYer, this guide serves as a valuable resource for successfully incorporating LED strip lights into your projects.

Ethan

Ethan

Ethan is a seasoned marketing professional with a deep expertise in our company's innovative product line. With a passion for sharing knowledge and insights, he takes the lead in regularly updating our corporate blog, where he explores industry trends, product features, and effective marketing......