Halo Light
Architectural lighting does more than brighten a room. It shapes movement, mood, safety, and the way materials appear. A museum gallery may need soft, controlled light for delicate artwork. A workplace needs balanced illumination that limits glare on computer screens. In a hotel lobby, layered light can guide visitors toward reception without obvious signs. These differences make one universal solution unrealistic. So, what is the best lighting for architectural design? The answer depends on purpose, space, users, materials, and local conditions. Experienced designers study daylight, ceiling height, surface reflectance, and viewing angles before selecting fixtures. A reliable decision also considers maintenance access, energy use, color quality, and long-term operating costs. Small errors can become expensive. This guide explores seven practical tips for choosing architectural lighting with greater confidence.
The seven tips connect design intent with measurable performance. They consider beam angles, color temperature, glare control, lighting controls, and fixture placement. Observe the space carefully. A narrow beam may highlight a textured wall, but it can create harsh contrast nearby. A warm color temperature may support hospitality, while a cooler tone can assist detailed work. However, personal preference should not replace professional calculations or relevant lighting standards. Controls matter too, because daylight sensors and dimming systems can reduce waste during bright afternoons. Maintenance deserves equal attention; a beautiful fixture becomes a problem when lamps require difficult access. Mock-ups and on-site testing often reveal issues drawings cannot show. Even experienced professionals sometimes underestimate reflections from polished stone or glass. That is worth remembering. The strongest lighting plan remains flexible, evidence-based, and honest about its limitations. When aesthetics, comfort, performance, and responsibility work together, architectural lighting can make a space feel intentional rather than merely illuminated.
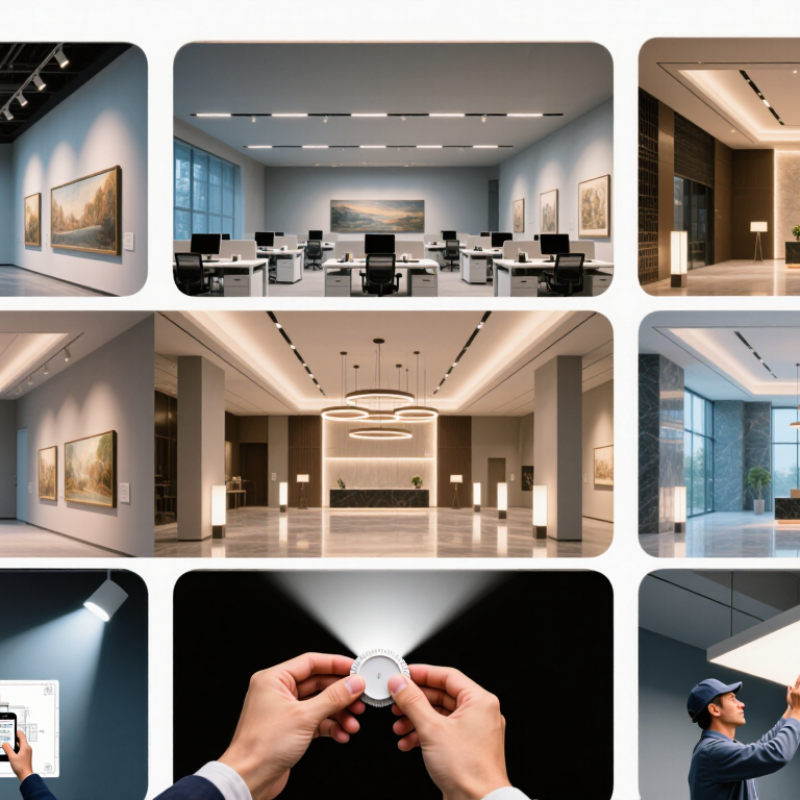
Define the Purpose and Visual Goals of the Architectural Lighting Architectural lighting should begin with purpose, not fixture selection. A lobby may need welcoming light, clear circulation, and a memorable focal point. A gallery requires controlled brightness, accurate color, and minimal glare. Write these goals before reviewing technical products. This simple step keeps the design connected to how people use the space.
Walk through the building at different times. Observe shadows near entrances, reflections on polished floors, and dark areas beside staircases. Note where visitors pause or feel uncertain. I recommend recording illuminance levels and reviewing photometric data with a qualified lighting professional. Color rendering, color temperature, beam spread, and glare control should support the room’s function. Local energy codes and accessibility requirements also deserve early attention.
A beautiful render can still feel wrong. Human perception is less predictable than software suggests. A warm ceiling may appear dull beside a cool display wall. A bright corridor may create uncomfortable contrast. Test sample fixtures on site, preferably after sunset. Ask users what they notice first. Their feedback may challenge the original concept. That is useful. The best visual goal may need revision when real materials, changing daylight, and daily movement reveal unexpected problems.
Choosing the Best Architectural Lighting
A successful lighting plan begins with the space, not the fixture. Walk through the room at different times of day. Note where sunlight enters, where shadows gather, and how surfaces reflect brightness. A polished floor may create glare, while a textured wall can soften light.
Study the structure carefully. Ceiling height, beams, columns, and window positions affect every lighting decision. In a narrow corridor, recessed fixtures may emphasize its length. In a room with exposed beams, adjustable lights can reveal the construction without making the ceiling feel crowded. I once placed several fixtures too close to a low ceiling. The result felt harsh and visually heavy. That mistake reminded me to measure proportions before selecting equipment.
Natural light should guide the atmosphere. Morning light may need gentle support, while a darker north-facing room might require a stronger layered plan. Use ambient lighting for general visibility, task lighting for work areas, and accent lighting for architectural details. Check color temperature beside the actual materials. White paint, timber, stone, and metal all respond differently. Small tests matter. A sample installation can expose glare, awkward shadows, or uneven brightness before the full project begins. Human comfort also matters; a technically bright room may still feel tiring after an hour.
7 Tips for Choosing the Best Architectural Lighting
Choose lighting types according to the space’s visual task. Ambient lighting supports circulation, while accent lighting reveals artwork, textures, and architectural edges. Decorative fixtures can add character, but they should not replace necessary illumination. The IEA’s Energy Efficiency 2023 report estimates that lighting uses about 15% of global electricity. Efficient sources and responsive controls therefore matter beyond appearance. Consider occupancy sensors, daylight dimming, and programmable scenes where practical.
Fixture selection should follow mounting height, maintenance access, glare risk, and ceiling structure. Recessed fixtures create clean lines, while surface-mounted units simplify installation on difficult ceilings. In my project experience, a visually elegant fixture sometimes produced uncomfortable reflections on polished stone. It looked right on paper. It failed after sunset. Mock-ups and evening inspections expose these mistakes early. The Illuminating Engineering Society recommends evaluating illuminance, uniformity, and visual comfort together rather than chasing brightness alone.
Beam angle must match the target. Narrow beams suit columns, sculptures, and distant façades. Medium beams work well for wall washing and focused work areas. Wide beams support corridors and broad surfaces, but may spill light into unwanted zones. The Commission Internationale de l’Éclairage highlights control of obtrusive light as a core outdoor lighting concern. Check aiming, shielding, color temperature, and color rendering together. A 3000K source can feel calm, yet it may still appear harsh with excessive contrast. Measure first. Revise later.
Select suitable lighting types, fixtures, and beam angles by matching maintained illuminance targets with the activity and atmosphere of each space.
The chart presents commonly used maintained illuminance planning values in lux. Actual requirements depend on local standards, room finishes, daylight, maintenance factors, and visual tasks.
When I assess architectural lighting, I begin with the building’s purpose, occupancy, and daily activity. A gallery needs steady, accurate light, while a walkway needs clear visibility and controlled brightness. Choose efficient fixtures with suitable color rendering, not efficiency alone. Excessive brightness can waste energy and create glare. Review lighting levels through a professional photometric calculation before installation.
Controls should match real behavior. Daylight sensors can reduce output near windows, while occupancy sensors suit storage rooms and service areas. Use dimming schedules for facades that remain visible after business hours. Keep the control interface simple. A system that staff cannot adjust properly may consume more energy. This happens more often than expected.
Maintenance deserves attention before the first fixture is mounted. Check access points, cleaning requirements, replacement procedures, and expected service life. Avoid placing critical equipment above fragile finishes or unsafe access zones. I once saw an attractive installation become costly because maintenance access was ignored. That mistake changed the entire operating budget. Protect wiring from moisture, heat, and physical impact. Select appropriate ingress protection for exterior locations, and follow local electrical codes. A licensed professional should verify grounding, emergency lighting, and safe installation practices. Recheck the design after construction, because ceilings, trees, and nearby surfaces can change light performance.
Architectural lighting choices affect how people read space, move safely, and notice materials. In practice, a polished rendering can hide glare, weak contrast, or awkward maintenance access. Compare designs using the same room images, mounting heights, beam angles, and target lux levels. A warm scheme may flatter wood, while a cooler scheme can sharpen a gallery or workplace. I once preferred a dramatic wall wash, then noticed reflections across a glass meeting room. The effect looked impressive, but the room became tiring to use.
Tip 1: Build a side-by-side sample board. Include fixture shape, light distribution, color temperature, dimming range, and replacement access. Ask an independent lighting professional to review calculations and emergency requirements. Their feedback may challenge the designer’s favorite option.
Tip 2: Test light quality on site. Place temporary fixtures at actual ceiling heights, then inspect faces, artwork, floors, and work surfaces during daytime and evening. Check flicker, glare, color consistency, shadows, and controls from several positions. A phone camera helps document differences, but it cannot replace measured readings. Repeat the test after finishes are installed. Paint can change everything.
Tip 3: Confirm the final budget in writing. Separate equipment, installation, controls, wiring changes, lifts, commissioning, energy use, and future driver replacement. Request realistic allowances for access equipment and schedule delays. A cheaper fixture may demand more maintenance, though this is easy to miss. Leave a modest contingency, and record every approved revision before ordering.
| Tip | Evaluation Dimension | What to Compare | Recommended Test or Check | Practical Benchmark | Budget Consideration |
|---|---|---|---|---|---|
| 1. Compare the Lighting Design | Visual hierarchy and architectural integration | Layered lighting, beam angles, mounting positions, fixture visibility, and consistency with the building geometry | Review reflected ceiling plans, illuminance calculations, rendered views, and sample layouts from typical occupied areas | The design should provide ambient, task, and accent lighting where required, without dark zones or excessive visual clutter | Include design fees, control layouts, mounting accessories, wiring, and installation access in the comparison |
| 2. Test Light Quality | Color rendering, color consistency, and visual comfort | Color Rendering Index, saturated-red rendering, color temperature, chromatic consistency, and glare | Inspect physical samples in the intended space and review independent photometric and color-quality reports | CRI 90 or higher is commonly selected for spaces where finishes, artwork, food, or skin tones are important; use lower values only when appropriate | Higher color quality and tighter color consistency can increase fixture cost but may reduce visual defects and replacement risk |
| 3. Select the Right Color Temperature | Atmosphere and compatibility with materials | Correlated Color Temperature, daylight interaction, surface finishes, and the intended mood | Test 2700 K, 3000 K, 3500 K, or 4000 K samples against flooring, wall colors, wood, stone, and metal finishes | 2700–3000 K is commonly used for warm residential or hospitality settings; 3500–4000 K is common in many work-oriented spaces | Keep one approved color temperature for visually connected areas unless a deliberate transition is part of the design |
| 4. Check Glare and Beam Control | Glare limitation and light distribution | UGR, shielding angle, luminance, beam spread, cutoff, and reflected glare on screens or polished surfaces | Walk through the space from normal eye positions and test sightlines near windows, desks, seating, mirrors, and glossy finishes | UGR 19 or lower is a commonly referenced target for many office environments; project standards and room use must be checked | Add louvers, diffusers, deeper shielding, or adjustable optics when glare control is more important than the lowest initial price |
| 5. Evaluate Energy and Controls | Energy use, dimming, and operational flexibility | System wattage, delivered lumens, efficacy, dimming range, occupancy sensing, daylight response, and zoning | Compare installed watts and annual operating hours, then test dimming from full output to the required minimum level | Evaluate delivered lumens per watt at the system level rather than relying only on the LED component rating | Controls may raise initial cost but can reduce operating energy, improve comfort, and support different scene settings |
| 6. Confirm Installation and Maintenance | Reliability, access, and lifecycle serviceability | Ingress protection, ambient-temperature limits, driver location, replaceable components, warranty terms, and cleaning access | Check installation clearances, ceiling compatibility, service routes, spare-part availability, and documented operating conditions | Use an IP rating appropriate to dust or moisture exposure and verify that the fixture can operate within the project’s temperature range | Include lifts, specialist labor, access panels, cleaning, driver replacement, and future maintenance downtime |
| 7. Confirm the Final Budget | Total cost of ownership and approval control | Fixture cost, controls, cabling, labor, commissioning, energy, maintenance, taxes, shipping, and contingency | Request a line-item quotation and compare the same quantities, performance requirements, accessories, and installation assumptions | Use a whole-life-cost comparison instead of judging options by fixture price alone; confirm exclusions and escalation assumptions | Reserve a project contingency, commonly around 5–10% during planning, subject to project complexity and procurement risk |
Begin with the space’s purpose, not fixture selection. A lobby may need welcoming light, clear routes, and one memorable focal point.
Daylight and darkness reveal different problems. Check entrance shadows, polished-floor reflections, and dim areas beside staircases.
Ambient light supports movement. Accent light reveals artwork, textures, columns, and architectural edges. Decorative fixtures may add character, but they cannot replace functional illumination.
Review mounting height, ceiling structure, maintenance access, glare risk, and installation difficulty. Recessed fixtures look clean, while surface-mounted units suit difficult ceilings.
Narrow beams suit columns and sculptures. Medium beams work for wall washing. Wide beams cover corridors, but may spill into unwanted areas.
Renderings can hide glare and weak contrast. Test temporary fixtures at actual ceiling heights during daytime and evening.
Inspect faces, artwork, floors, and work surfaces. Check flicker, shadows, color consistency, controls, and reflections from several positions.
No. It helps document visual differences, but measured readings remain necessary. Human perception can still surprise the design team.
Separate equipment, installation, controls, wiring changes, lifts, commissioning, energy use, and future driver replacement. Add a modest contingency.
It may require difficult access or frequent maintenance. This is easy to miss. The attractive low price may not remain attractive.
Choosing the best architectural lighting begins with defining the purpose of the space and the visual experience you want to create. Consider whether the lighting should highlight structural features, support daily activities, create a welcoming atmosphere, or improve wayfinding. Examine the room’s size, materials, layout, ceiling height, and sources of natural light before selecting lighting types, fixture positions, color temperatures, and beam angles. These decisions help produce balanced illumination while emphasizing the architecture’s strongest qualities. For anyone asking, “what is the best lighting for architectural design,” the answer depends on the project’s function, character, and performance requirements.
A successful lighting plan should also address energy efficiency, smart controls, maintenance access, and safety. Use adjustable systems where appropriate, reduce glare, and ensure that fixtures can be serviced without disrupting the space. Before final approval, compare alternative designs, test light quality at different times, and evaluate shadows, brightness, and color consistency. Finally, confirm that the selected solution meets the available budget while still delivering the desired visual impact, long-term reliability, and comfortable user experience.
